Thursday, March 19, 2015

HEM - Rooftop Details, part 1

Rooftop, with a skylight I botched pretty badly. It looks better now, but still needs some adjustments with tweezers, blades and brushes, but I think I can still use it.


First new detail... mangled copper (conduit?)...


...made from aluminum wire. Sorry for the blurry photo.


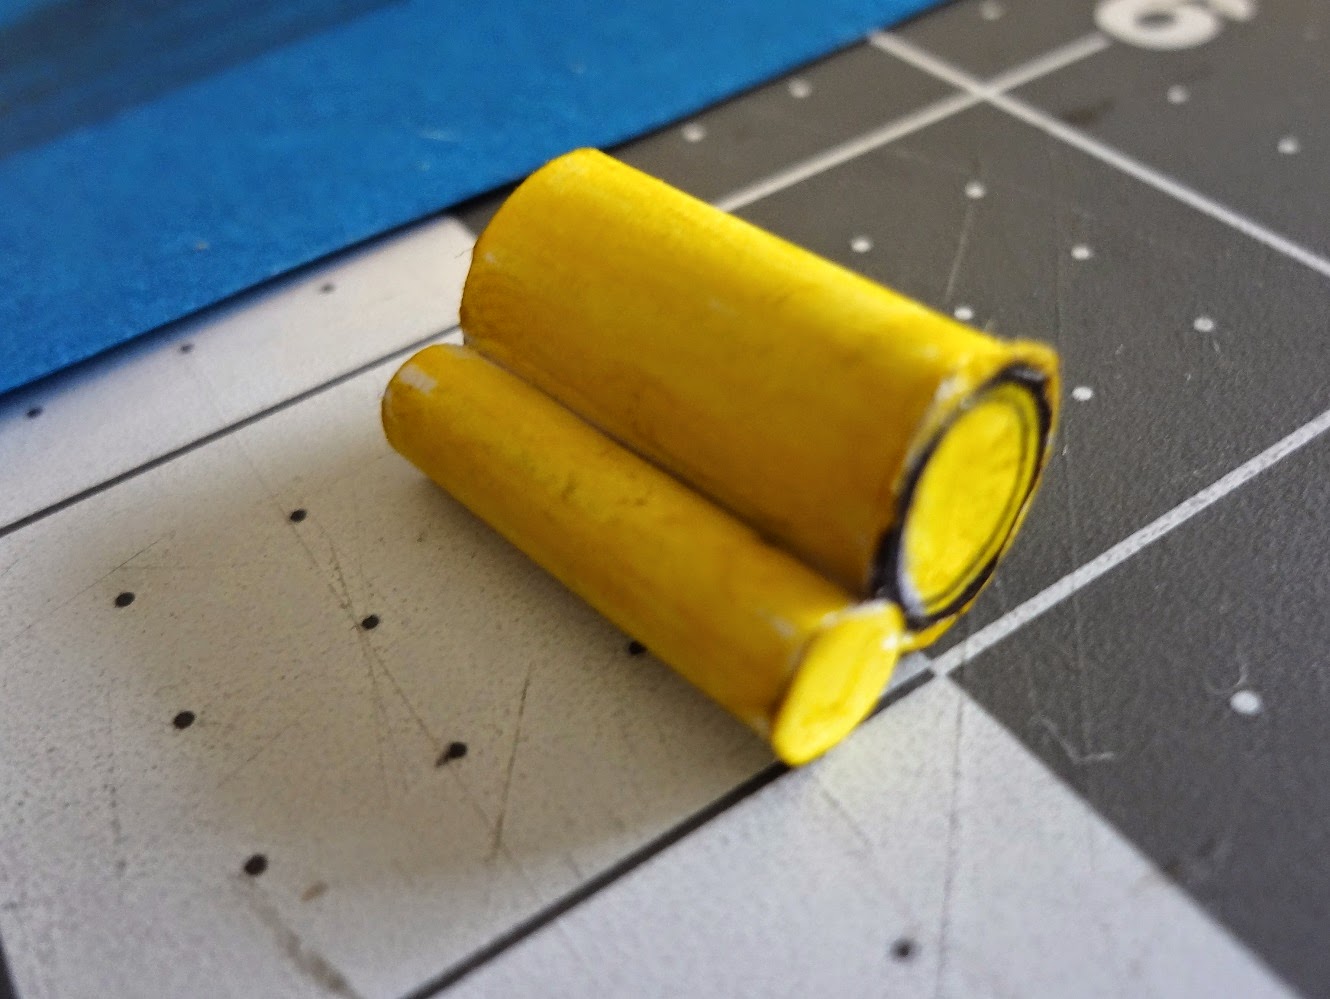
Second and Third new details, a roll of lead shielding, and a copper pipe...


...made from strip cut from an aluminum soda can, and some painted aluminum wire.


New details four and five, plank and copper patch...


...plank (scan original, print, glue to card stock, cut-out and weather with watercolors; copper patch, same process. The copper patch doesn't really work... it's too thick, so I'll replace it with something thinner. Perhaps a copper sheet patch cut from copper sheet? Nah. Not "papery" enough.


The toy collection so far. I feel like I'm building bits for a game of Clue "The Wizard, with the cooper pipe, on the roof next to the roll of lead shielding?".


Tuesday, March 17, 2015

HEM - Illuminating the Windows

There are roughly 500 tiny windowpanes on the High Energy Magic Building (HEM, a.k.a. The Squash Court), and it took a few days to cut them all out and fill with transparency.


I mixed greens, browns, yellows and grays to simulate dirty windows and replacement panes. Colors appear brighter here, but wash-out considerably when back lit.


Colored panes at top. Bottom window is all "clear" for comparison.


First wall done. I made the mistake of using a black marker to try blackening the cuts in the windows on the left. The black bled into the print, but I was able to fix the damage with colored pencils.


Back lit to check the cuts.


Next time - Doors and Assembly.

Replacement Woodpile

The Cut-Out Book has a lot of good points, but this woodpile, leaning against the HEM Annex isn't one of them, so I did some rework.

Here's the woodpile as designed.  Boring, boring, boringboringboring...


...so I took it back apart and rolled it around a pencil tip. 


Glued in place, it now has a more full, random look.  I'll hide the dotted lines with planks and paint.


I printed some wood grain patterns and cut them into planks.


Gluing on some separate planks add to the 3D, feel, and the scattered planks on the ground increases interest in this small area between the HEM and the River Wall.


Done!  Next time - HEM rooftop details.

Lighting for the HEM Annex

At one of the Hallowe'en stores I found a light which I think will work for the HEM Annex.  Multiple colors flashing in a varying pattern... I wonder what is going on inside the Squash Court?  Click on link below to see a short video.

video link - Test Lighting the HEM Annex

Monday, March 16, 2015

HEM Annex - Rooftop Details and Shrubberies

Now we begin the fun part - superdetailing the various items located on the roof of the HEM Annex.  We debated awhile as to what some of the items should be.  Examining pictures of the resin Clarecraft model provided a few answers, but some of this is still guesswork.  


Starting with the silver-coiled-tube-looking thing... I'm guessing cooling coil of some sort, so I built one up from aluminum wire and added some color for, well... just because I felt like it, actually.  


Not an exact match size-wise, but close enough for model work.


I noticed on the resin model that the copper/gold colored items project from the opening at an angle, and look to me like some sort of boiler, so that's what I built.  It's mostly rolled paper with paper disc caps covering the ends.


Cutting and folding the roof to help visualize how things will fit.


I've added some new floors, support pads, and removed the printed floor.


There's some sort of horn/trumpet shaped piece projecting from the roof, so I rolled one from paper.


Painting the boiler took a bit of experimenting... 


Good enough for now.


Adding more floor pieces and supports.


New floor atached to the inside of the roof.


I like the look of the open rooftop hatch on the resin Clarecraft model, so I decided to make one from paper and plastic.


Stray pieces of wood on the roof.  The HEM is under constant revision, so there are leftover bits and pieces of construction material all over the place.


Add some shredded green foam for shrubberies, and lots of weathering to the various details.


DONE!  Next time - The HEM Main Structure.

x

HEM Annex - Transparent Windows

Since the HEM is home to HEX and lots of experimental equipment, I imagine there would be frequent flashes of light from various sources, so I cut out the printed windows and replace them with copies printed on velum (thanks to Matthew S for the suggestion).  I'll add some internal lighting later.


To make the new windows I simply copied the existing artwork, reprinted on velum, and glued inside the wall.


When lit, the window are sort of "negatives" of the leaded-glass panes.  In hindsight, I think I'd print another layer with the cross pattern of leading in black, and glue behind the first transparency to limit the light to just the dirty glass areas.