Monday, March 16, 2015

HEM Annex - Rooftop Details and Shrubberies

Now we begin the fun part - superdetailing the various items located on the roof of the HEM Annex.  We debated awhile as to what some of the items should be.  Examining pictures of the resin Clarecraft model provided a few answers, but some of this is still guesswork.  


Starting with the silver-coiled-tube-looking thing... I'm guessing cooling coil of some sort, so I built one up from aluminum wire and added some color for, well... just because I felt like it, actually.  


Not an exact match size-wise, but close enough for model work.


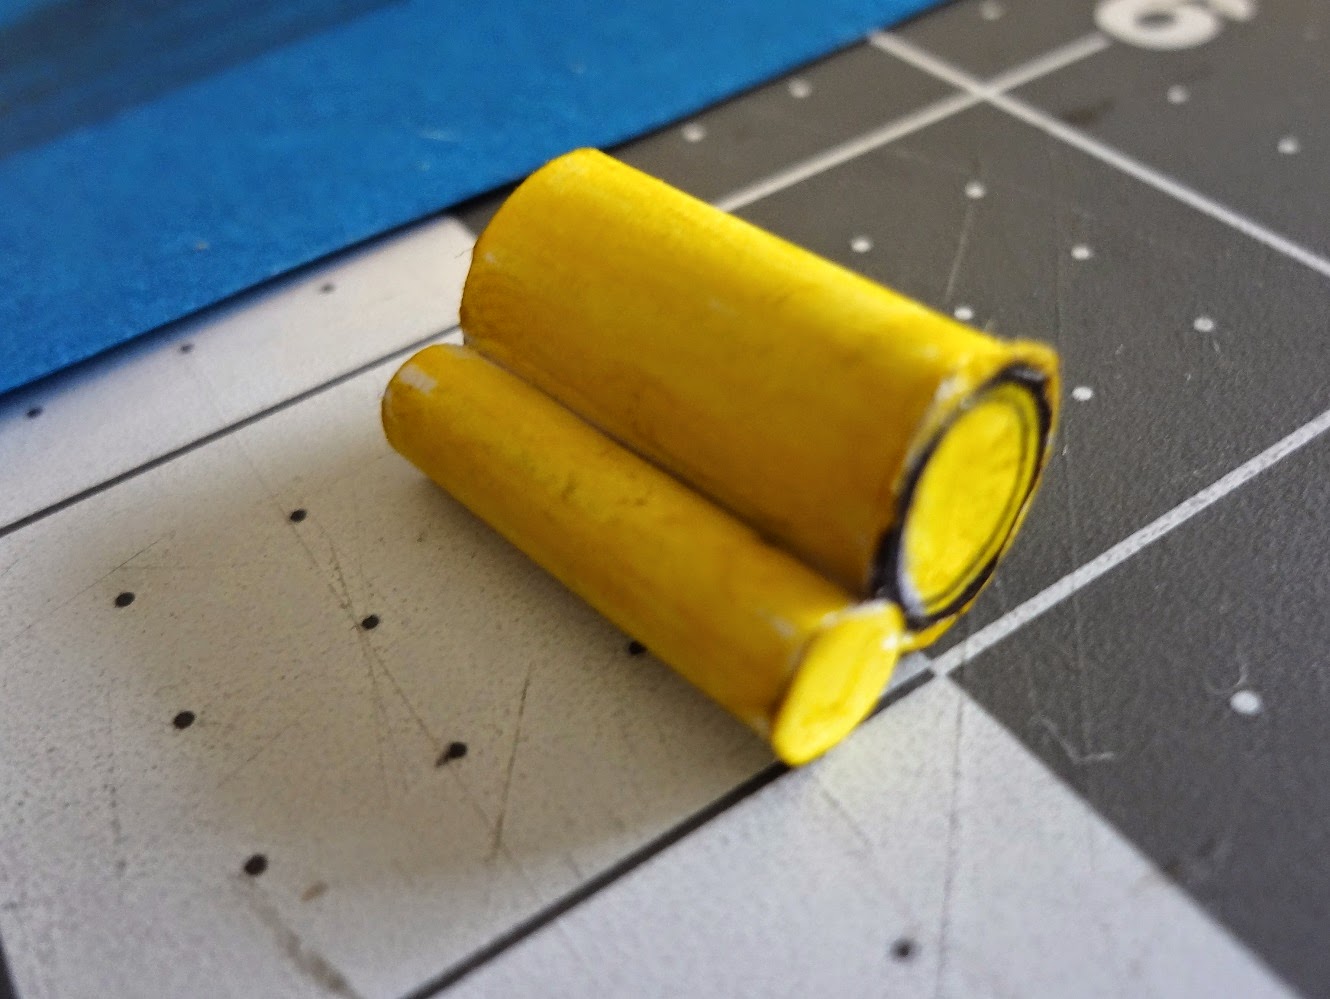
I noticed on the resin model that the copper/gold colored items project from the opening at an angle, and look to me like some sort of boiler, so that's what I built.  It's mostly rolled paper with paper disc caps covering the ends.


Cutting and folding the roof to help visualize how things will fit.


I've added some new floors, support pads, and removed the printed floor.


There's some sort of horn/trumpet shaped piece projecting from the roof, so I rolled one from paper.


Painting the boiler took a bit of experimenting... 


Good enough for now.


Adding more floor pieces and supports.


New floor atached to the inside of the roof.


I like the look of the open rooftop hatch on the resin Clarecraft model, so I decided to make one from paper and plastic.


Stray pieces of wood on the roof.  The HEM is under constant revision, so there are leftover bits and pieces of construction material all over the place.


Add some shredded green foam for shrubberies, and lots of weathering to the various details.


DONE!  Next time - The HEM Main Structure.

x

HEM Annex - Transparent Windows

Since the HEM is home to HEX and lots of experimental equipment, I imagine there would be frequent flashes of light from various sources, so I cut out the printed windows and replace them with copies printed on velum (thanks to Matthew S for the suggestion).  I'll add some internal lighting later.


To make the new windows I simply copied the existing artwork, reprinted on velum, and glued inside the wall.


When lit, the window are sort of "negatives" of the leaded-glass panes.  In hindsight, I think I'd print another layer with the cross pattern of leading in black, and glue behind the first transparency to limit the light to just the dirty glass areas.


Sunday, March 15, 2015

HEM Annex - The Side Coil

HEM Annex, a.k.a. the Squash Court.  So many details!  Looking at the equipment as-printed, I thought some of these would be easy to scratch build for a more "3D" look.  I'm no purist with regards to using only paper for building materials, I went back to my plastic model superdetailing days and started scrounging around in the boxes for help.  

First subject is the circular coil on the wall.


I assume some sort of cooling coil, perhaps made of copper tubing, so I decided to coil my own from some aluminum wire.  


A quick cote of copper Sharpie to check the look.


Sharpie rubs off, but I will fix it later.  

Two coils nest one inside the other.

I made mine oversize to help cover and hide the original printed coil.


A few holes for adjusting the fit.


Wednesday, March 4, 2015


I've been taking a little break from The Great Hall Pt.2, reorganizing my studio and playing with other things.  This little "Le Figaro" newspaper kiosk with figures and delivery car will sit in my bookcase in front of the books on art and architecture.  Artwork can be found here: Agence Eureka blog

The additional vehicles can also be found on the same blog.


Friday, February 20, 2015

The Library Dome, and Special Guest

I thought the dome of The Library would lend itself to some illumination, so... 

Here's all the fiddly bits. I recall something about concentrated magic giving-off an octarine glow... I'll have to settle for a blue gel.


This little light, with six LEDs, was a freebee at some trade show. Here I've added the blue gel over the lens (octarine gels are currently unavailable).


Making a quick mount for the light... cardboard tube and masking tape, nothing very brilliant.


Card support ring will center the light within The Library. And the half of a Ping-Pong ball (either the ping, or the pong) should help diffuse the light within the dome.


Hand-held test fit. So far, so good.


Ping (or pong) light diffuser glued in place atop The Library.


The dome isn't glued in place yet, thus the light bleeding out around the base. Other than that, I think this is ready. Makes a nice nightlight. .smile emoticon


AND THEN... I awoke brainstorming again. I think I now know where to place The Librarian. This quick test silhouette is MUCH too big and man-shaped, but I think it might work nicely, even at a smaller size.... First test, just to see if this would actually work. 


I found this actual orangutan photo somewhere on the web. 


Simplified, and printed in various sizes to see what looks best inside the dome.


This first orangutan was a bit too small.  The one on the right will work better.


Everything back in position, with the blue glow. smile emoticon


Done!  Next - The HEM.

https://developers.facebook.com/docs/plugins/